端口转发
❗ 重要 ❗:
1️⃣ 如果远端服务使用结束,一定要记得手动停止 shell会话,否则会持续占用GPU资源,产生不必要的费用。
2️⃣ 所有server必须绑定0.0.0.0,不能使用127.0.0.1或localhost。
3️⃣ 暂不支持TCP协议,仅支持HTTP协议。
使用端口转发启动Jupyter
-
使用torch镜像启动workshop,进入远端页面后,选择/root目录作为工作路径。
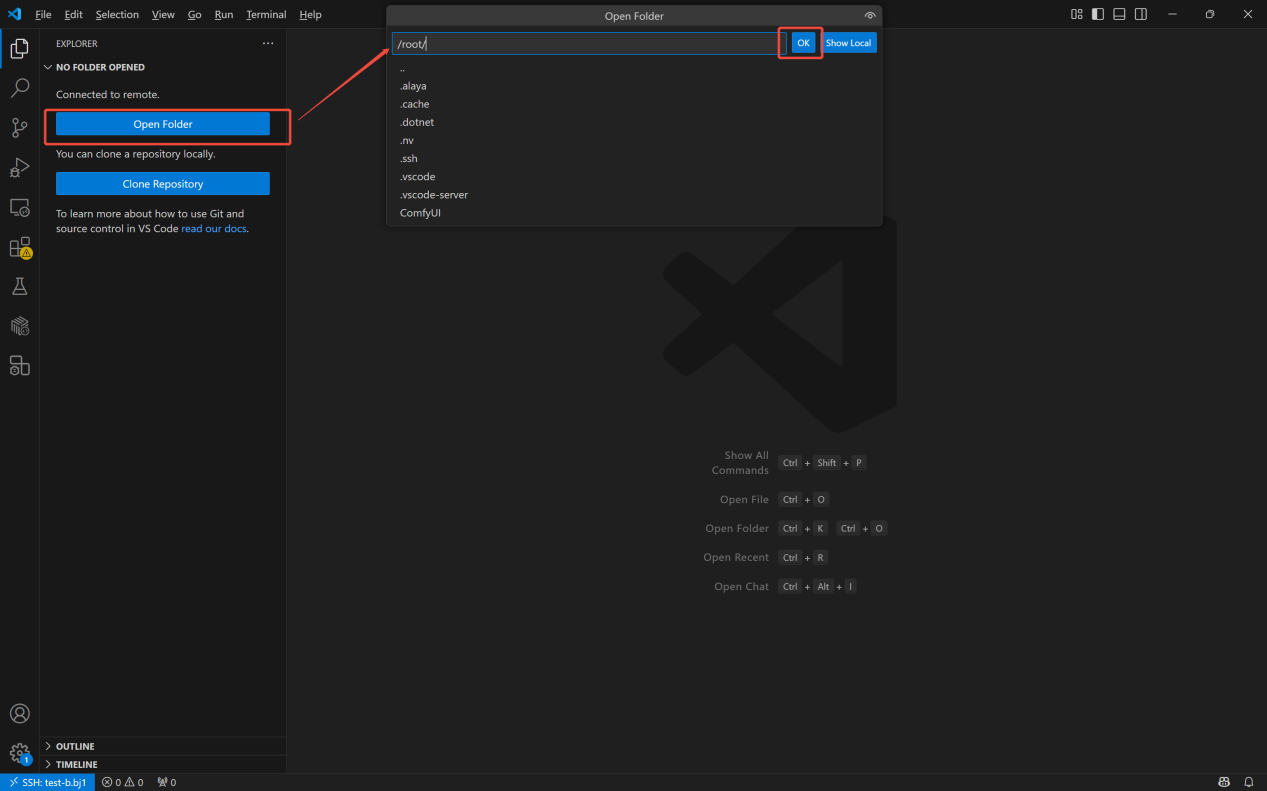
-
打开远端页面终端,输入以下命令安装Jupyter,并保存为新镜像:
# 用 Anaconda 安装
conda install jupyter notebook
# 用 pip 安装
pip install jupyter notebook
- 通过以下代码验证Jupyter是否安装成功:
jupyter --version
- 输出示例如下:
Selected Jupyter core packages...
IPython          : 8.36.0
ipykernel        : 6.29.5
ipywidgets       : 8.1.7
jupyter_client   : 8.6.3
jupyter_core     : 5.7.2
jupyter_server   : 2.16.0
jupyterlab       : 4.4.2
nbclient         : 0.10.2
nbconvert        : 7.16.6
nbformat         : 5.10.4
notebook         : 7.4.2
qtconsole        : not installed
traitlets        : 5.14.3
-
在本地窗口保存镜像,这里保存为了jupyter

- 在/root目录下新建.sh文件,输入以下命令:
jupyter notebook --allow-root --ip=0.0.0.0 --port=8888 --no-browser
- 在代码区或对.sh文件右击,选择运行Shell运行,选择已保存的镜像,并通过任一方法添加端口:
-
方法1:通过运行Shell配置页1添加端口 展开“高级设置”后,点击“+Add External Access”2新建端口,输入端口号3(Jupyter Sever启动端口号默认为“8888”),提交运行

-
方法二:运行Shell启动后,右击运行中的会话,选择“启动端口转发”,在弹出窗口中输入端口号
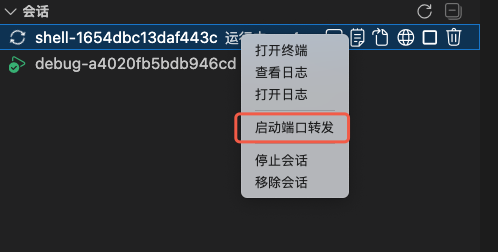
会话只有处于运行中才能新建端口,成功或失败状态下,都不可新建端口。
访问端口
-
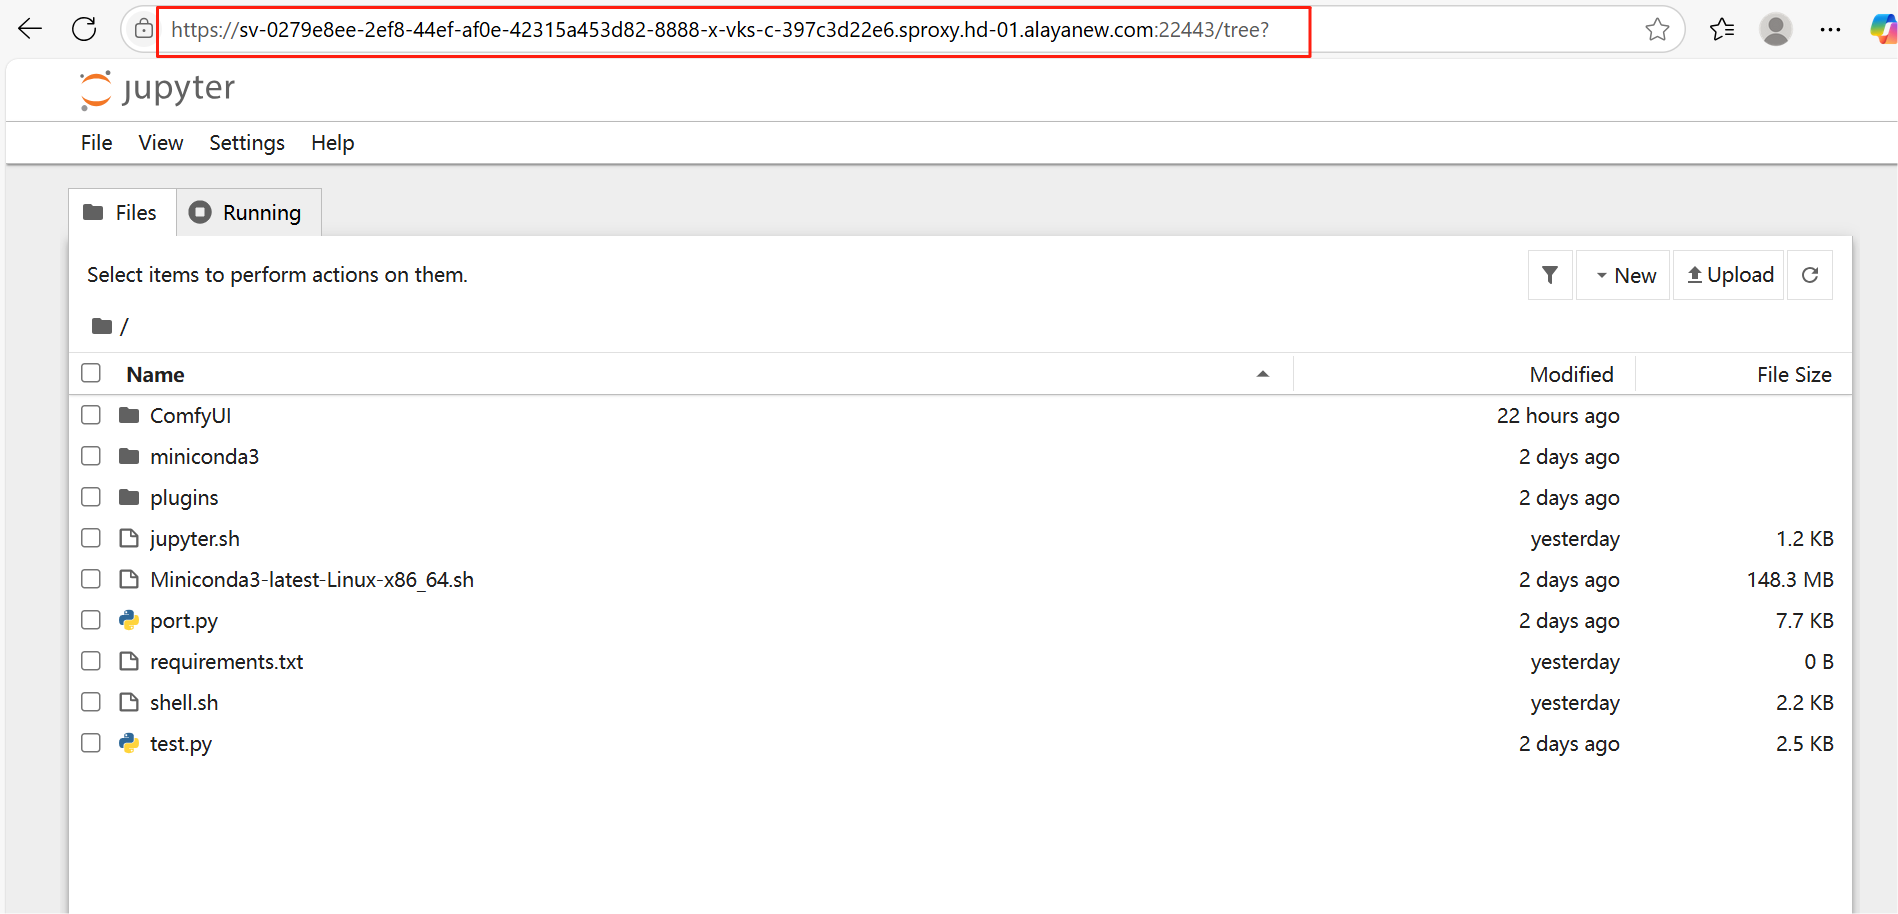
运行Shell后在终端内输出了sever url后,点击会话下的端口名称右侧的图标,此时浏览器中弹出Jupyter网页:
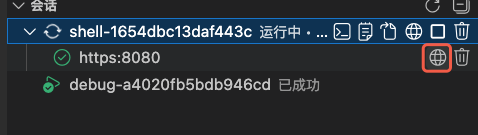
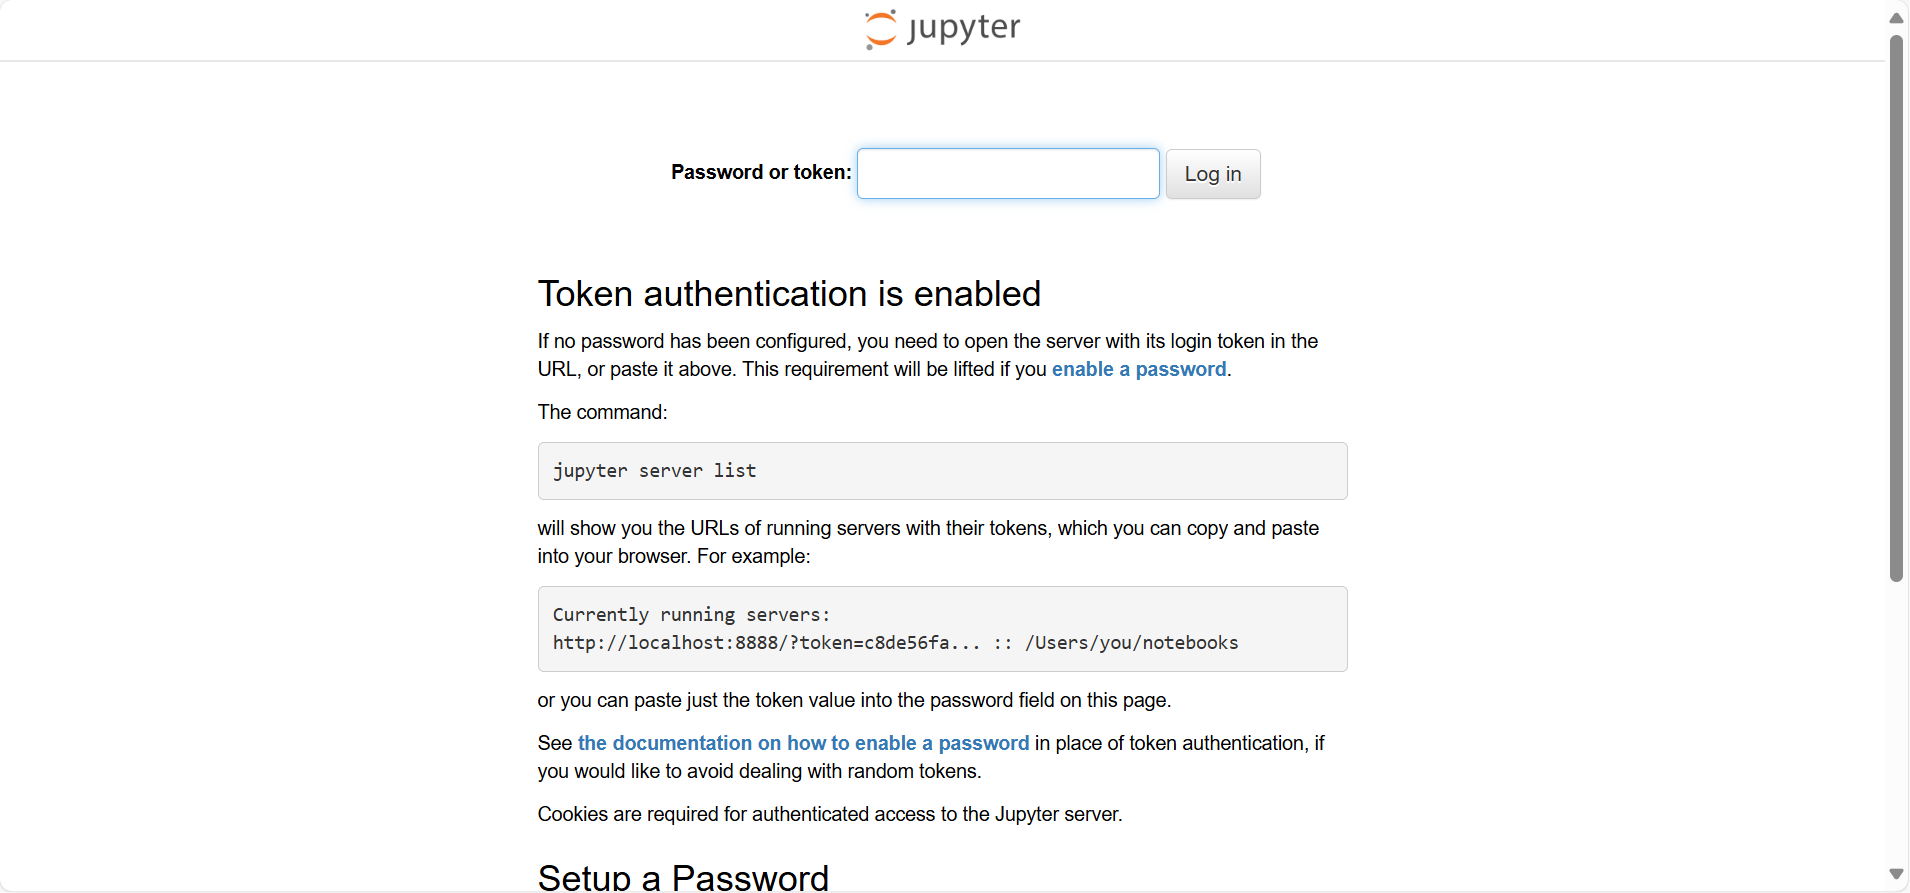
-
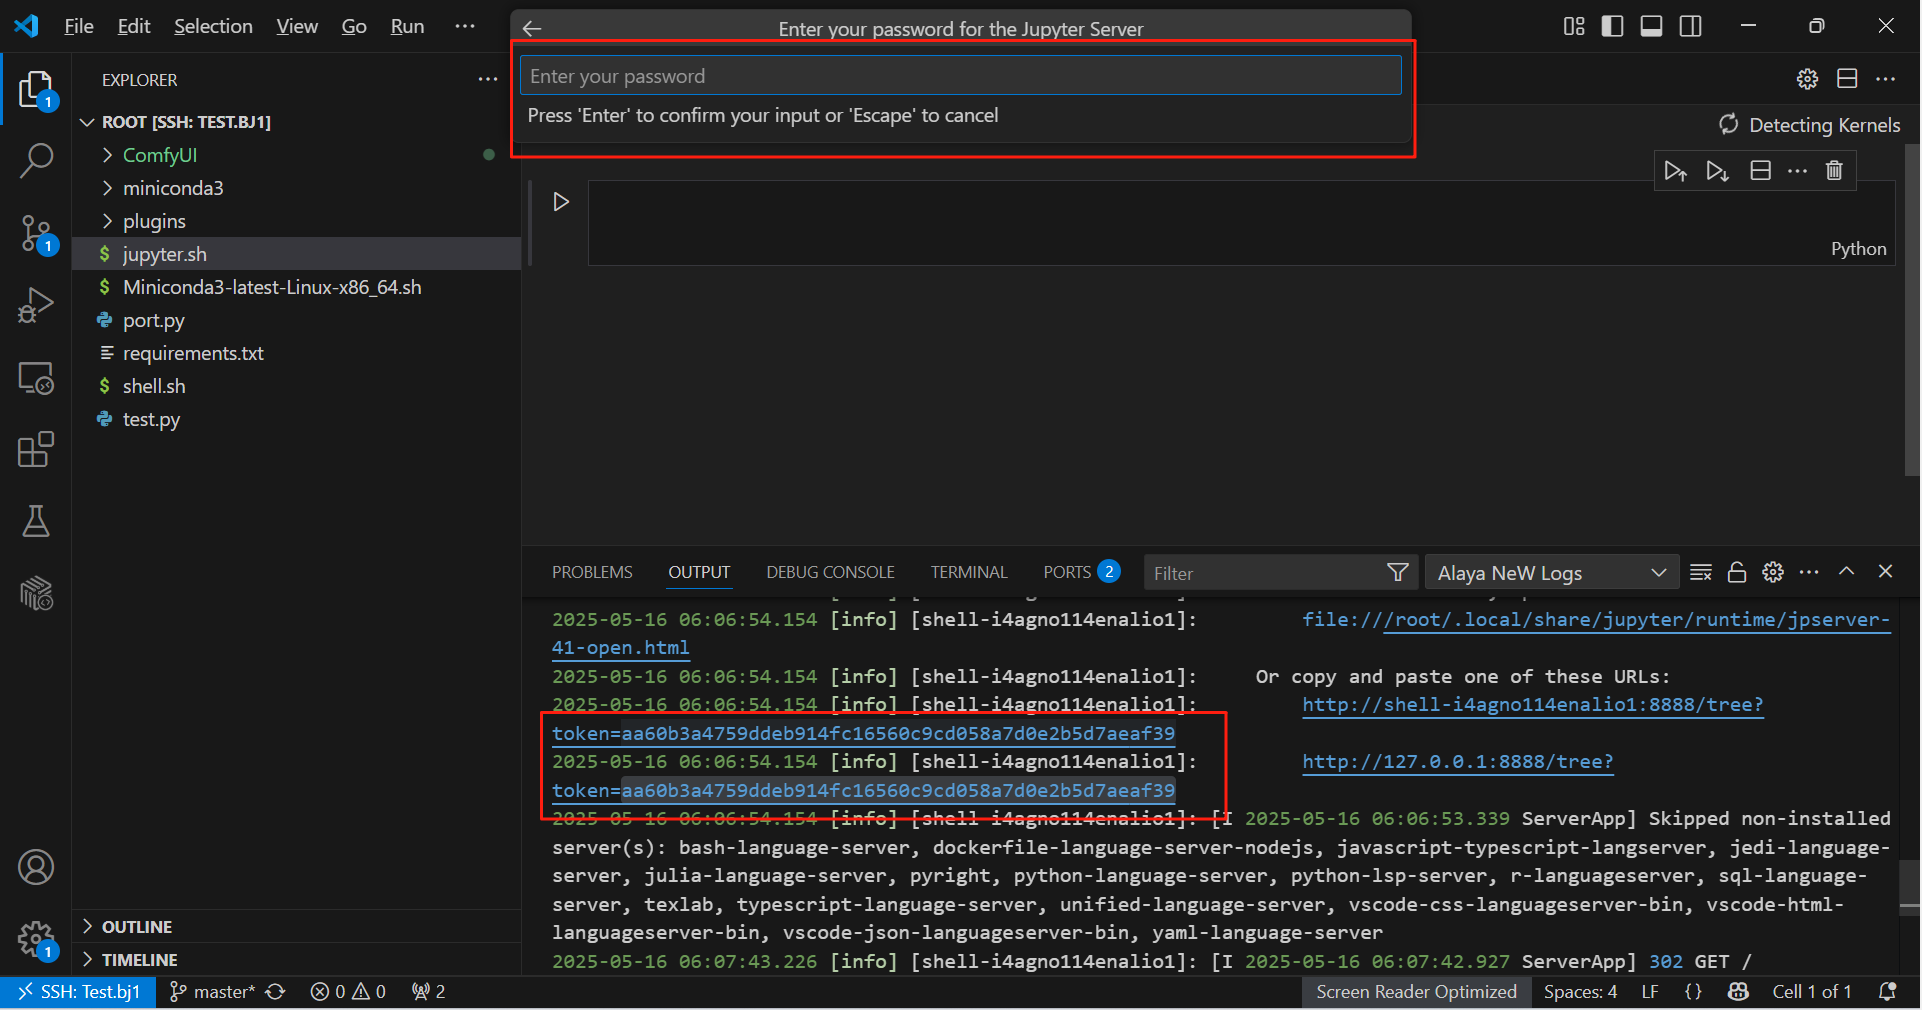
在输出中找到token,在Juypter网页中填写,登录Jupyter服务器:
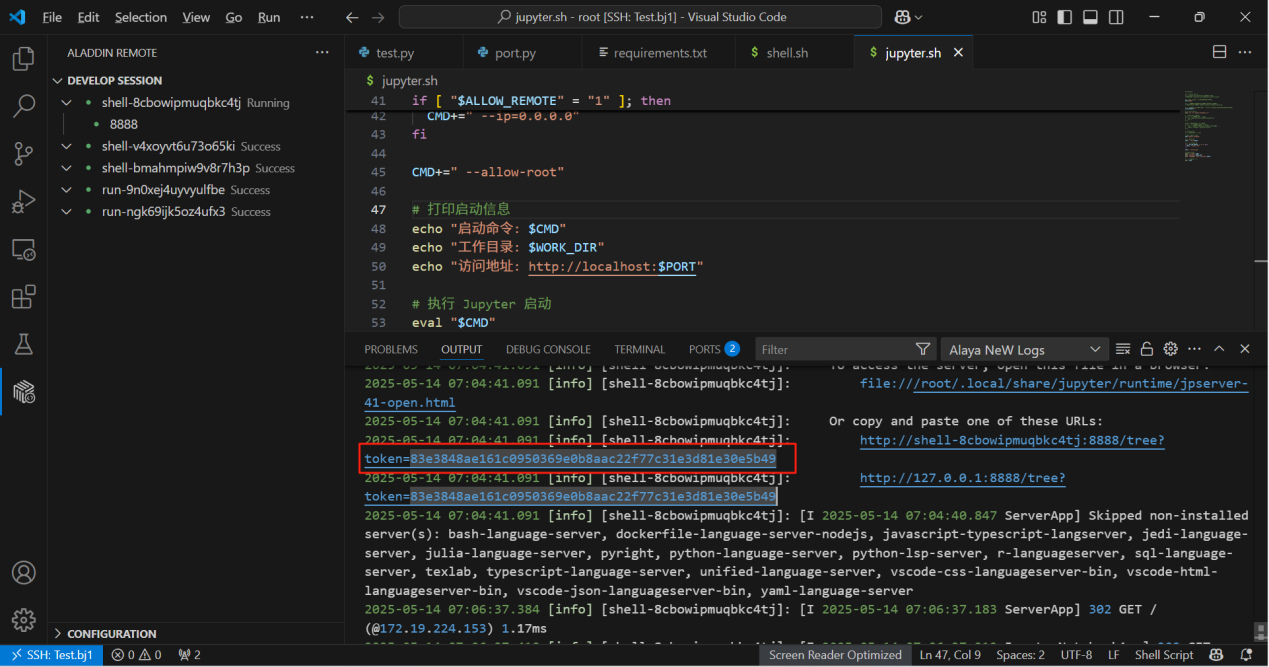
-
启动Jupyter服务器后,可借助Jupyter实现如下功能:
-
功能1:在浏览器中使用Jupyter 通过Jupyter网页,可以看到/root目录下的所有文件,并在Jupyter中编译代码

-
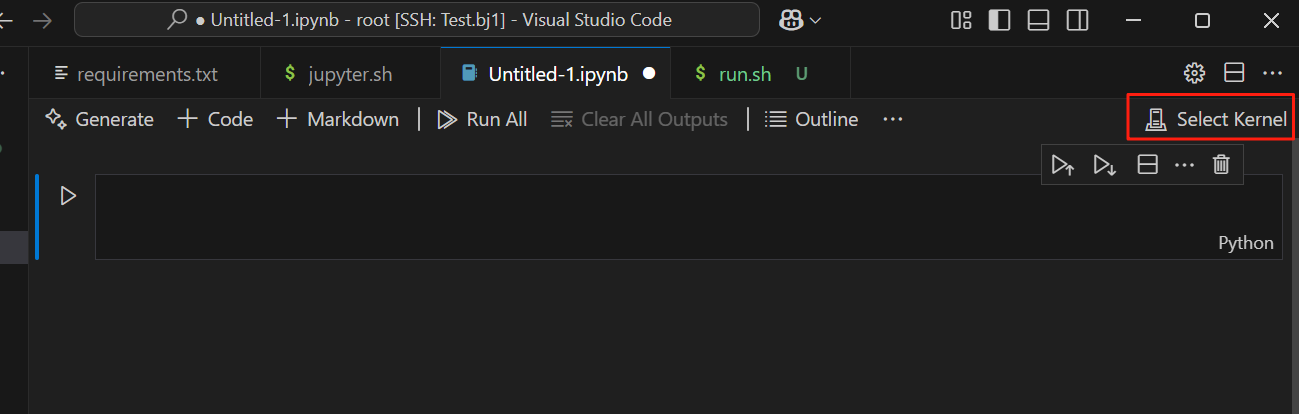
功能2:在VSCode中使用Jupyter(需提前安装Jupyter和Python插件) (1)在workshop中新建.ipynb文件(Jupyter文件)

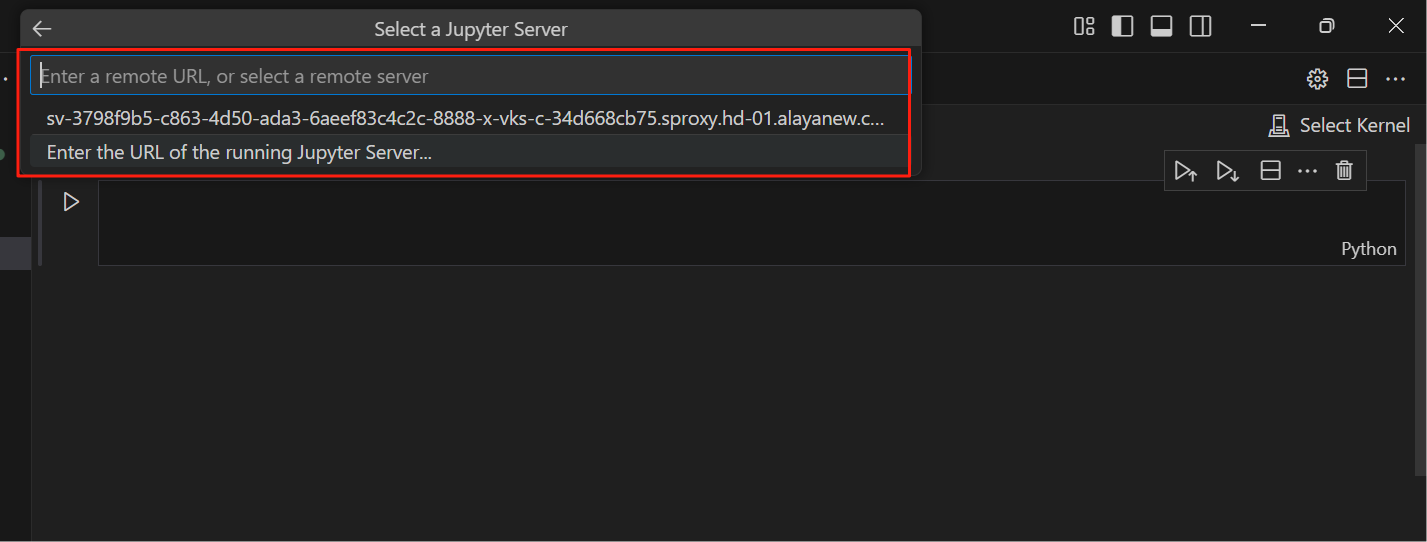
(2)选择Select Kernel -> Existing Jupyter Server
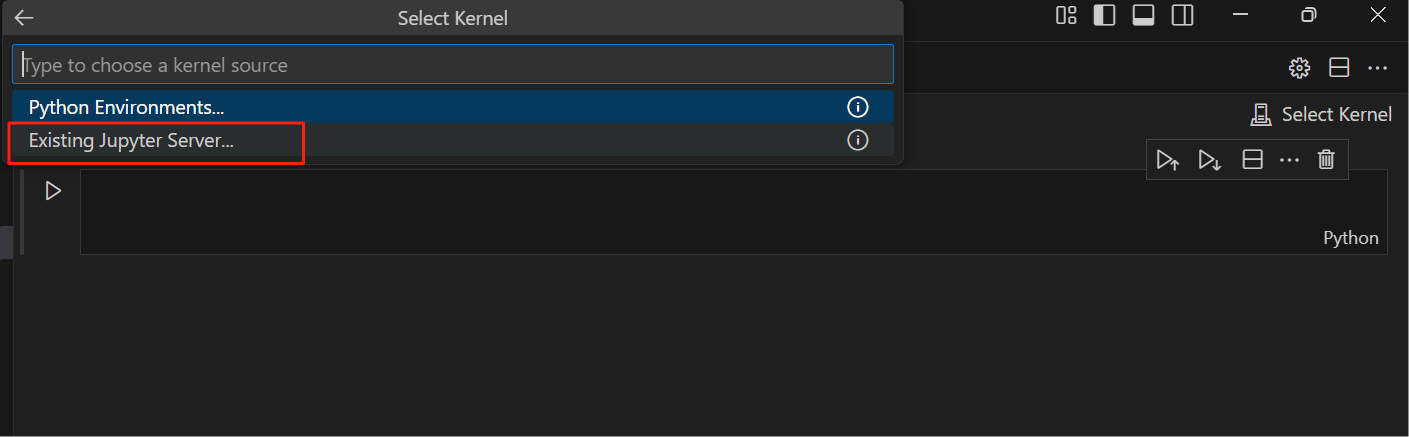
输入Jupyter浏览器地址,回车
输入token,回车
继续回车
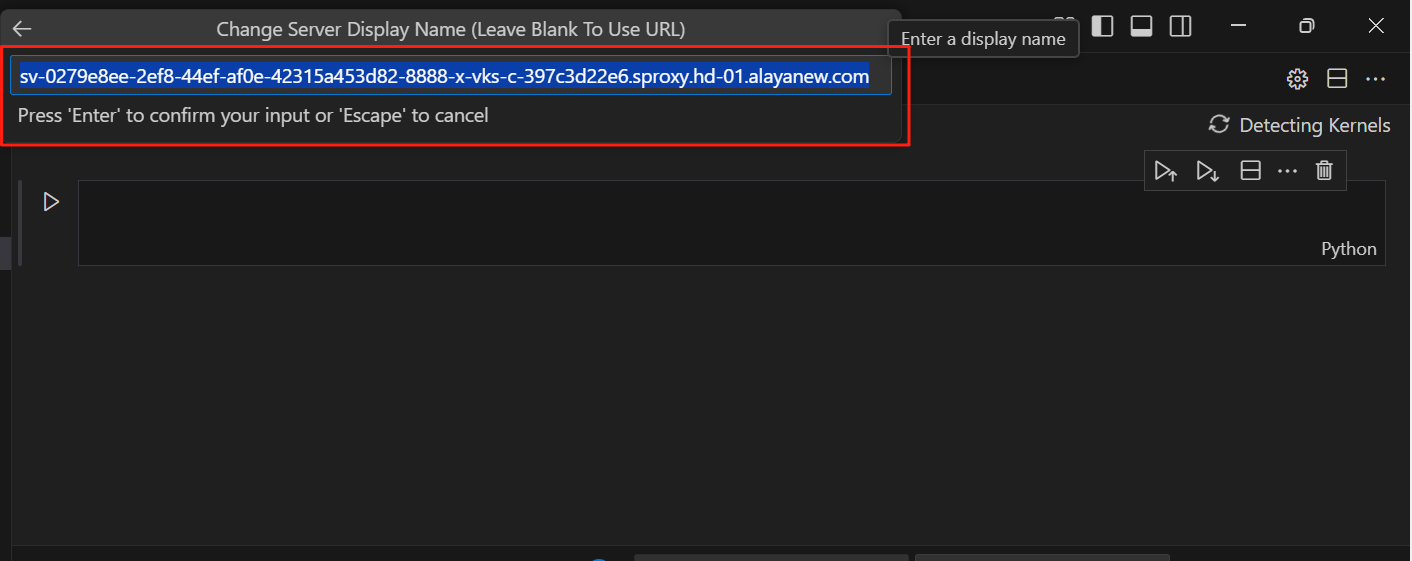
选择Python 3

文件右上角变成了Python 3(ipykernel),说明设置成功,此时就可在VSCode中利用Jupyter的功能调试代码了。

(3)验证是否可用:在Jupyter网页中新建任意文件,然后在VSCode输入以下代码,运行测试。
import torch
torch.cuda.is_available()
输出如下:
True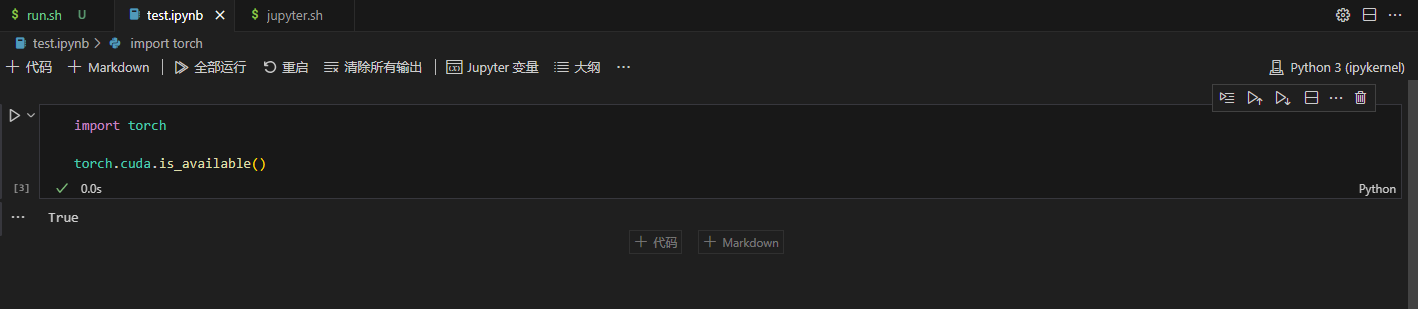
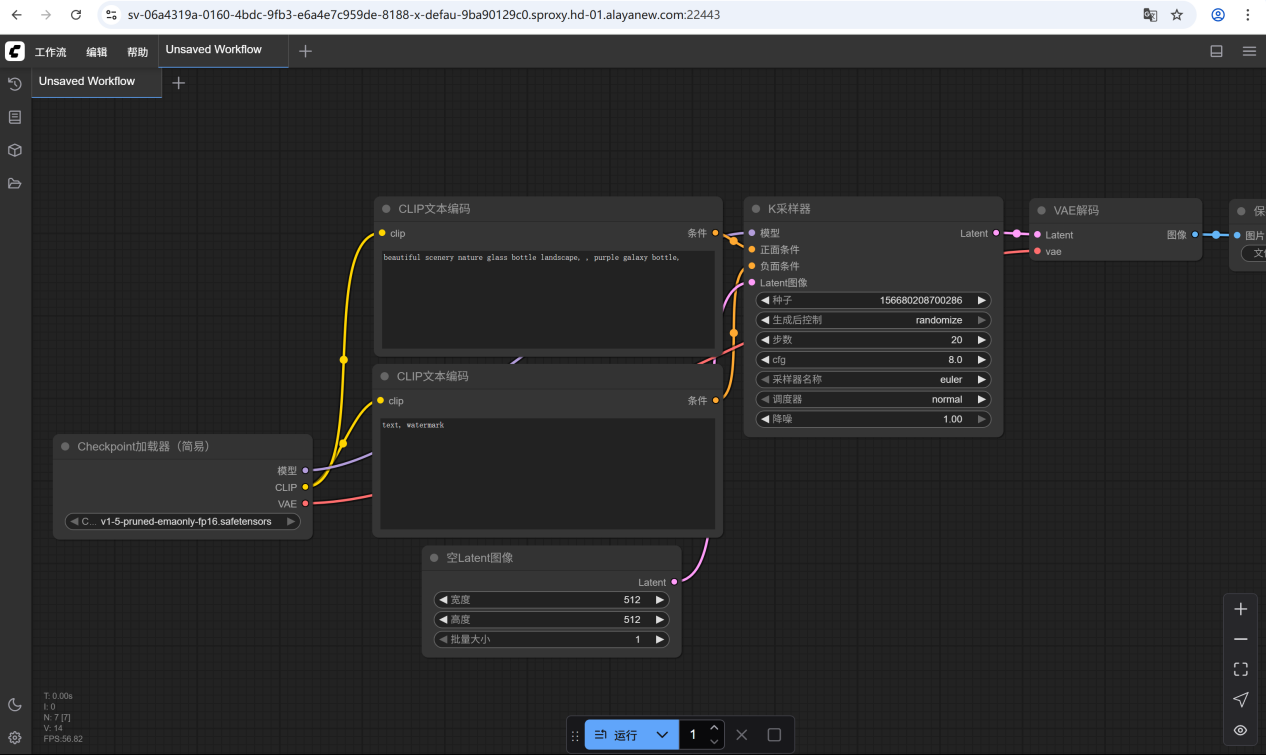
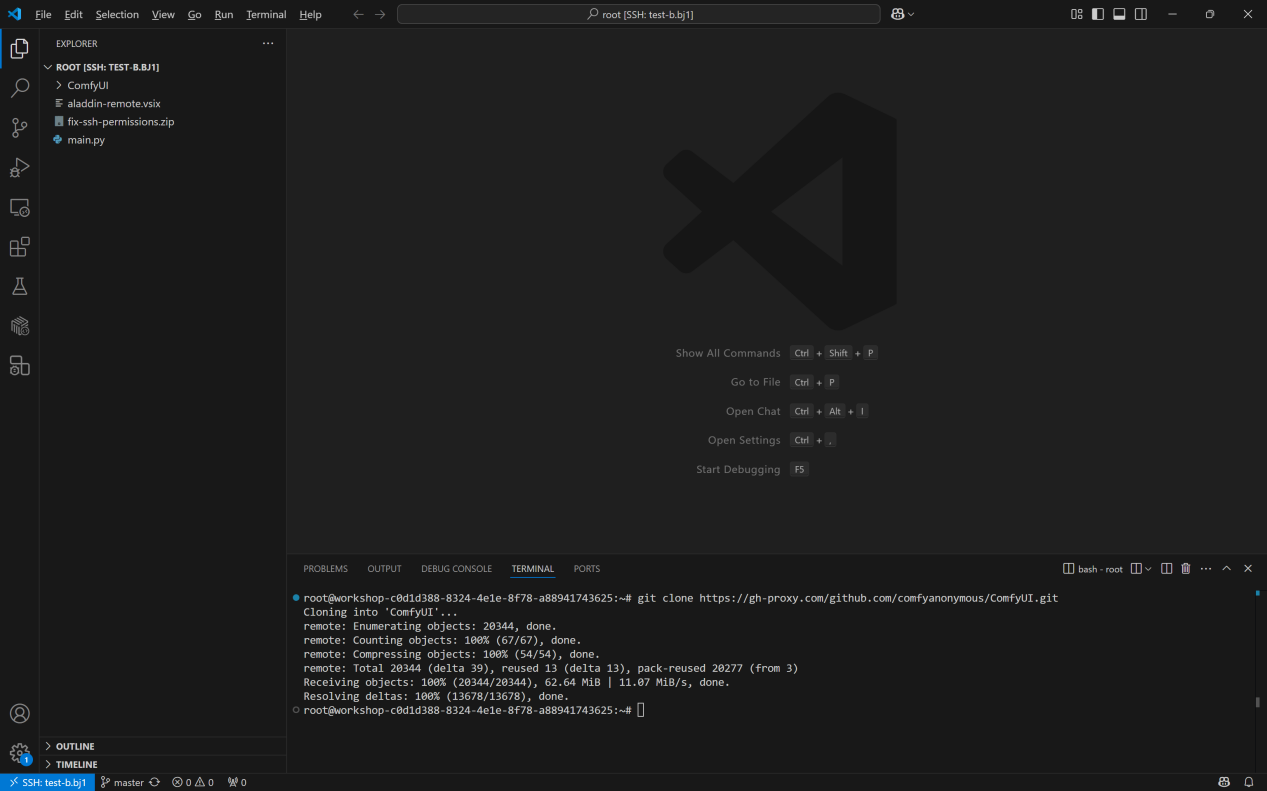
下载使用ComfyUI
- 在远端页面终端中执行以下命令,clone代码:
git clone https://gh-proxy.com/github.com/comfyanonymous/ComfyUI.git
- 下载完成后,在ComfyUI文件夹下新建run.sh文件,将以下代码复制到run.sh文件中:
apt update && apt install -y cmake g++ make
pip install torch torchvision torchaudio --extra-index-url https://download.pytorch.org/whl/cu128
pip install -r requirements.txt -i https://mirrors.tuna.tsinghua.edu.cn/pypi/web/simple
python main.py --listen 0.0.0.0 --port 8188
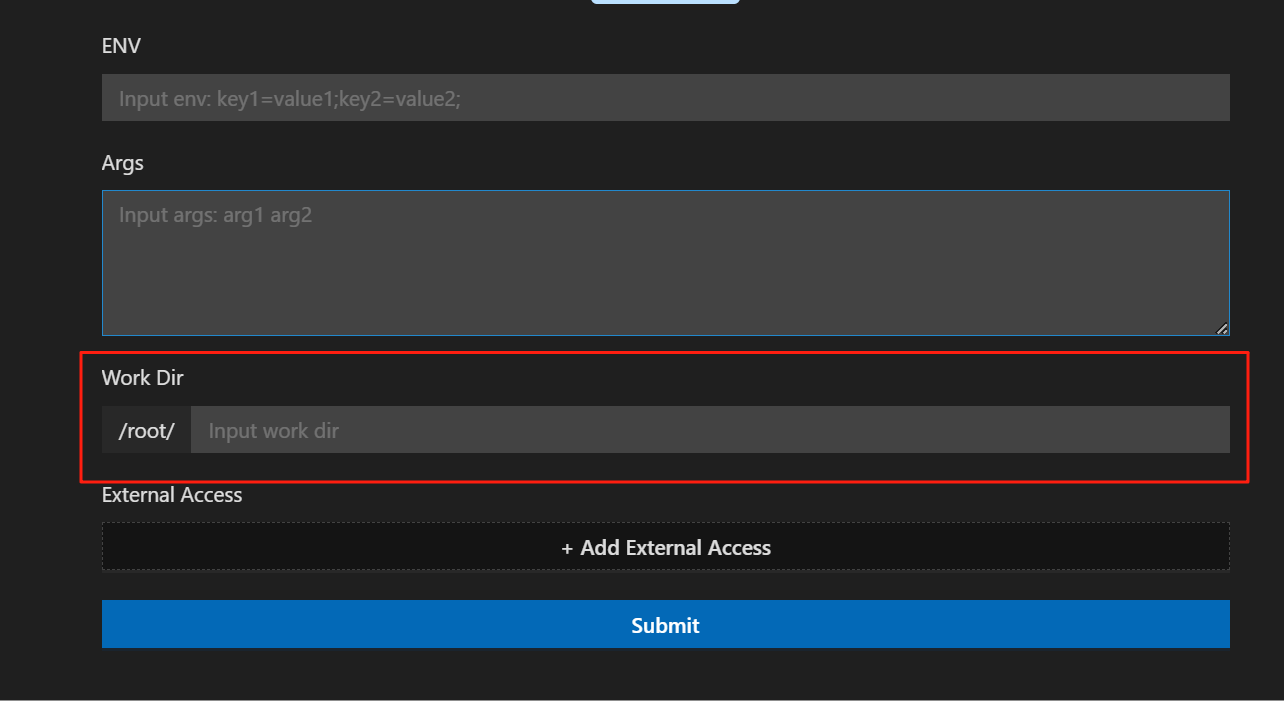
- 在代码区或对文件右击,选择运行Shell运行,填写配置时需注意:
-
若打开文件目录为/root,则需在高级配置的“Work Dir”中填写文件路径,即“ComfyUI”
-
添加外部访问端口,此处须与port参数保持一致,即填写“8188”
-
点击Submit后提交任务,等待安装并运行
-
安装完成后,点击session下的端口名称右侧的箭头,即可打开网页,通过浏览器访问服务。